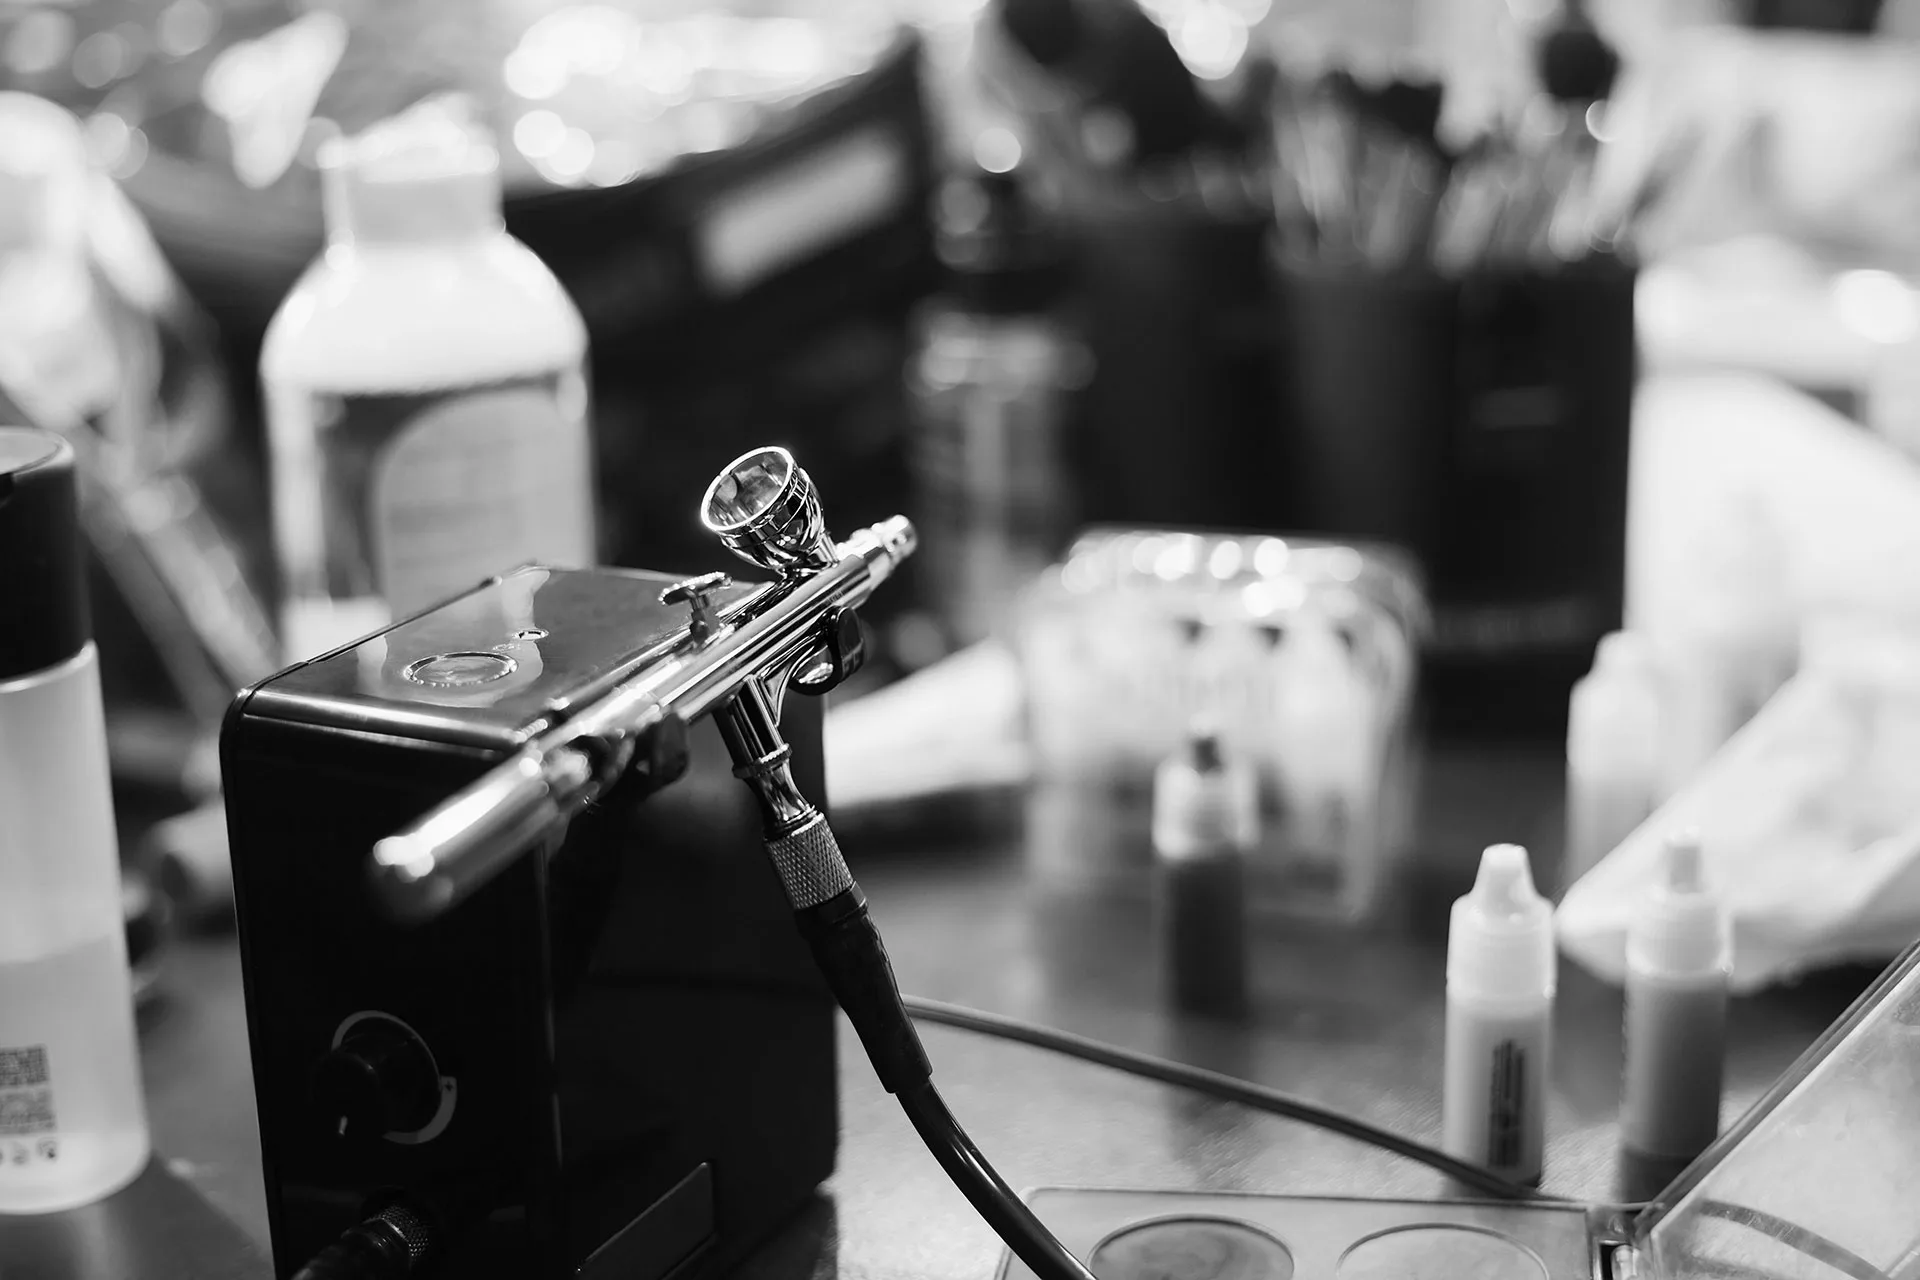
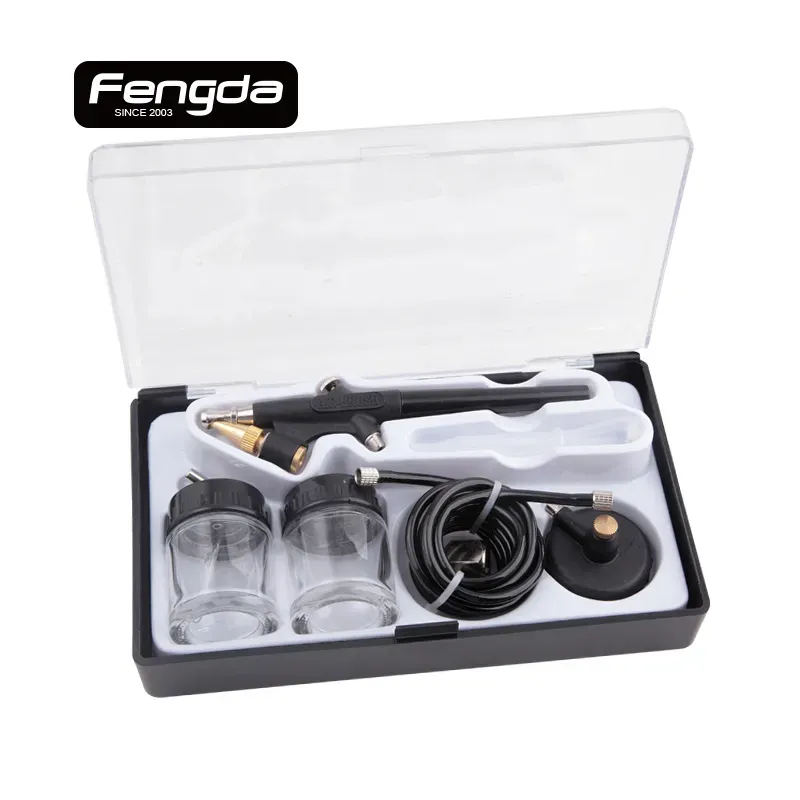
Using a nail airbrush kit allows for stunning, precise designs that elevate the quality of nail work. However, achieving fine details and smooth gradients requires understanding the correct air pressure settings. Whether you are a beginner or a professional, getting the right air pressure can make a significant difference in your results.
Ideal Air Pressure for Nail Airbrushing
Most nail airbrush kits operate within a pressure range of 10 to 40 PSI (pounds per square inch). The ideal setting depends on the type of design you want to create:
1. Fine Details – 10 to 15 PSI
For intricate designs, such as thin lines, lace patterns, or precise stenciling, a lower air pressure setting is recommended. 10-15 PSI allows for better control over the spray, minimizing overspray and ensuring sharp edges.
Tips for Fine Details:
Use a fine needle and nozzle (0.2mm – 0.3mm) for better precision.
Hold the airbrush close to the nail (about 1-2 inches away).
Apply light, controlled strokes to avoid excess paint buildup.
2. Smooth Gradients – 20 to 25 PSI
For flawless ombre effects, soft shading, and blended colors, a slightly higher pressure is necessary. 20-25 PSI ensures an even distribution of paint, allowing for a natural transition between shades.
Tips for Smooth Gradients:
Use a medium needle and nozzle (0.3mm – 0.5mm) for a smoother spray.
Hold the airbrush slightly farther from the nail (3-4 inches away).
Move your hand in a circular or sweeping motion to create seamless blends.
3. High Pressure – 30 to 40 PSI (Not Recommended for Nails)
Higher pressure settings are typically used for body painting or larger-scale airbrushing. For nails, excessive pressure can cause overspray, uneven coverage, and paint splattering, making it harder to achieve clean designs.
Additional Tips for Perfect Nail Airbrush Kits
✔ Use High-Quality Airbrush Paints – Thin, well-mixed paints ensure smooth application. Avoid thick polishes, as they can clog the airbrush.
✔ Test on Practice Sheets – Before applying to nails, test your air pressure settings on paper to ensure the desired effect.
✔ Clean Your Airbrush Regularly – Residue buildup can affect pressure consistency and spray patterns.
✔ Work in a Well-Ventilated Area – Proper airflow prevents inhaling excess paint particles and keeps your workspace clean.
Conclusion
Mastering the right air pressure settings is essential for achieving professional-quality nail airbrush kit designs. 10-15 PSI works best for fine details, while 20-25 PSI is ideal for smooth gradients. With the right techniques, tools, and pressure control, you can create stunning nails with precision and ease.
For more nail airbrush kits tips, you are welcome to consult our professional airbrush experts at marketing@cnbida.com or visit our website to browse various airbrushes. We will provide you with professional advice and high-quality airbrushes!